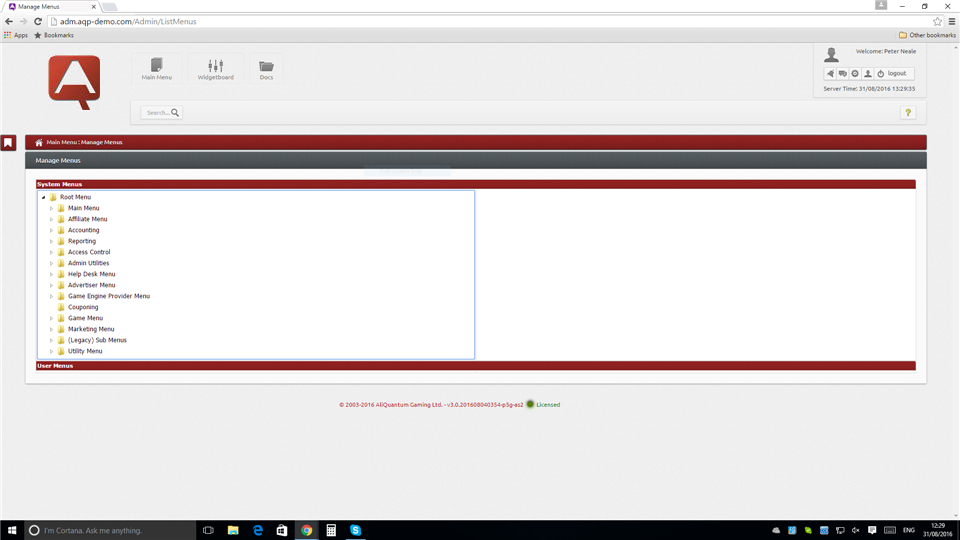
Use this screen to specify the content of system menus. To access the screen, select Utility Menu > Tools Menu > Manage Menus from the system options. Note that the Manage Menus option is also available using Access Control > User Management > Manage Menus.

The system menu hierarchy is defined in the left pane of the screen, with each node representing either: a menu or sub menu, or a menu entry in the form of a program or function.
Select a node and use the mouse right-click menu to create a new Item (entry) or Menu, or to Delete the node.
The right pane lists the fields associated with the selected node, and depending on whether the node is a menu or an entry, have the following properties:
| Field | Properties |
|---|---|
| Title | Menu title, as it appears in the menu. |
| Description | Menu or sub menu description, for further information. |
| Order/Sequence | Number which determines the order of items or sub menus within a menu. |
| Icon | Icon name associated with the menu node. |
| Icon Type | Icon type, selected from: 'Class', 'Text', 'URL'. |
If required, change the details of the menu node fields, then click the Update Menu button to store them.
| Field | Properties |
|---|---|
| Screen Title | Screen title, as it appears at the top of the screen, and derived from the target program class. |
| Custom Title (optional) | Custom screen title, which overrides the screen title value (see above). |
| Order/Sequence | Number which determines the order of items or sub menus within a menu. |
| Icon | Icon name associated with the menu node. |
| Icon Type | Icon type, selected from: 'Class', 'Text', 'URL'. |
| Class Name | Class called when the menu option entry is selected. |
| Mapping | Name of HTML file mapped to the menu option entry. |
If required, change the details of the entry node fields, then click the Update Entry button to store them.
  www.aliquantum-gaming.com www.aliquantum-gaming.com [email protected]: [email protected]: |
2017 AliQuantum Gaming v3.0.201710130000 - 03/02/2017 - 16:31 v3.0.201710130000 - 03/02/2017 - 16:31 |